Back Nikola Nedoklanov 5 min read August 3, 2024 888 words
Learn how to upgrade your home solar system from 3.6kW to 5.6kW by adding a second inverter and obtaining G99 approval from your DNO. A DIY guide.

In this article I will walk your through my road to expanding my existing home solar energy system. I will discuss some technical aspects, decision-making and finally I will provide you with sample diagrams that woked for me. Ready? Let’s go!
In This Article:
Why Am I Expanding My Home PV?
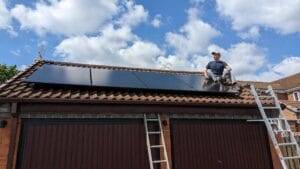
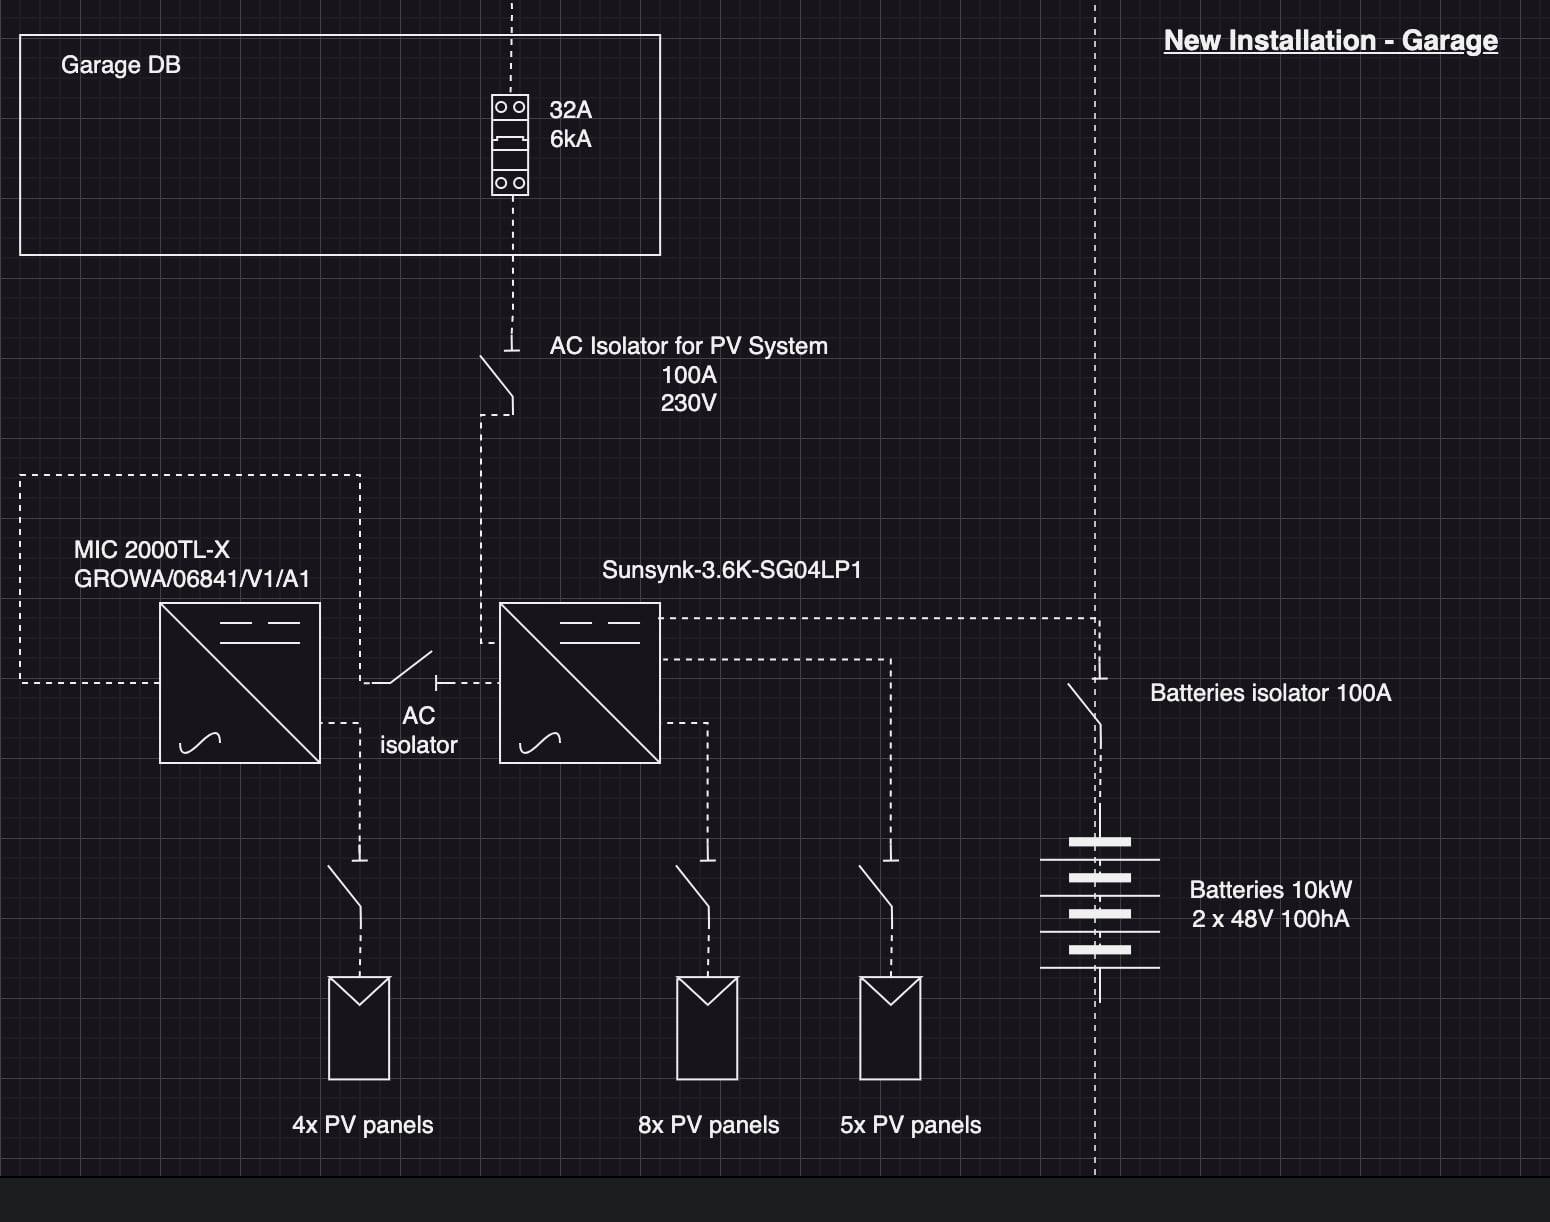
After my first winter as a home solar energy system owner in the UK, I was determined to expand my PV capacity. In May 2024, I added a new string of 8x410Wp panels. The expansion was on top of an existing system of two strings of 4x430Wp and 5x430Wp panels. I had connected the existing strings to a Sunsynk 3.6 ECCO inverter on each of its two MPPTs. Since there was no spare MPPT in the Sunsynk to connect the third string, I had to introduce a new inverter, too.
The Plan – Add A New Inverter
Luckily, Sunsynk can take a third input from a string inverter on its auxiliary, a.k.a. gen port. So, I made a plan:
- Buy a new string inverter. I went for a 2kW Growatt.
- Connect one of the smaller strings to the string inverter.
- Connect the new string inverter to the Sunsynk’s gen port. Thus, provide some nice overpaneling for the shorter days.
- Use the Sunsynk as the operation’s mastermind so it can use the AC from the string inverter to charge the batteries when the PV production is low.
G98 No Longer Enough
So far, so good. But, after doing some more research, I realised that Sunsynk takes the AC input and connects it parallel to the grid input. Hence, the setup has the potential to go beyond 3.6kW, which is the maximum covered under G98 DNO notification in the UK.
I emailed my DNO to double-check, and they confirmed I’d need to upgrade to a G99.
Restarting The Process For G99
I had an old G99 form filled in. All I had to do now was change a few details, add the new string inverter, and apply again.
I added a note that the new and existing inverter will connect to the grid via an existing MCB. I also pointed out that the MCB is dedicated to the inverters, it was installed by a competent person and I have the Building Regulations notification certificate for it.
Both the initial G99 application and the commissioning went efficiently. I must point out, the DNO responses were fast, sometimes I got answers on the same day.
Commissioning The DIY Installation For G99
I used the G99 A3-2 Form to notify of the commissioning of the expansion to my system. The local DNO officer requested an SLD (Single Line Diagram) to go alon with the form. This worked and now the process is complete.
Why Did I Have An Old G99 Form – In Hindsight
The old G99 was from when I first built my home solar system. I planned to use a 5kW inverter and had already sent a G99 application. Later, I downsized to a 3.6 but had all the forms from before. I did save some money in the process, but in hindsight, I should have gone with the larger inverter. To anyone facing a similar decision, go for the larger inverter. You will save your future self the hustle that I went through.
Download And Customise My Diagrams For Your G99
DISCLAIMER:
The electrical installation diagram provided on this blog is for informational and educational purposes only. It is based on my personal experience as a DIY enthusiast and should not be considered professional advice.
- This diagram is not a substitute for professional electrical work or official documentation.
- Electrical work can be dangerous and should only be attempted by qualified professionals.
- Local electrical codes and regulations may vary. Always consult and comply with your local regulations.
- I am not responsible for any damages, injuries, or legal issues resulting from the use or misuse of this information.
- Use this information at your own risk. If in doubt, always consult a certified electrician.
By viewing and/or using this diagram, you agree to hold the author and this website harmless from any liability.
Sample Diagrams
- Application: Schematic Design
- Commissioning: SLD (Single Line Diagram)
- Download and edit the diagrams for yourself. To edit, you need to download the digaram and open it using draw.io .
This is what I used to draw the diagram originally. It is powerful enough even at the free tier version, and I hope you’ll find it as easy to use as I did.

